Do yourself a favour and spend 5 minutes doing a pre ride check on your motorcycle with the following essential list. It could be the difference between staying upright…or not. And don’t forget to check yourself too!
Tyres
– Visually check for any damage or foreign objects in the tyre. Also check the valve is in good condition with a dust cap present
– Check tread depth. The minimum legal depth is 1.5mm. Anything less than that and you are riding slicks!
– Check for uneven wear such as a flat spot on the centre of tyre – this usually present on commuter bikes. A flat spot can alter the cornering performance of your bike
– Check pressures are correct – consult the swing arm sticker or owners manual for recommended pressures. We recommend you get yourself an extremely handy digital tyre gauge to carry with you in your backpack or tool kit. Don’t rely on service station tyre gauges.
Oil
– Engine oil should be changed according to the service manual
– Oil level can be checked usually via the inspection glass on the side of the motor. Check the owners manual for exact location if you can’t find it
– Check oil level with the bike upright or on the centre stand if our bike has one
– Oil should be a light golden colour (or perhaps a red colour). If it is dark brown or black it should be replaced immediately. Always replace the oil filter at the same time
Brakes
– Visually check the brake disc condition for any damage or excessive wear
– Brake pads require a minimum of 2mm of material for effective stopping power
– Check the brake fluid level via the inspection glass on the front brake master cylinder or fluid reservoir on rear brakes, and some front brakes
Lights and Electrical System
– Operate lights, indicators, and horn to confirm they are all operating correctly
– If any electrical system is not functioning check bulbs, fuses, and switches – consult the owners manual electrical diagram for fuse location, or flip open the fuse box lid…they usually have a key to identify which is which
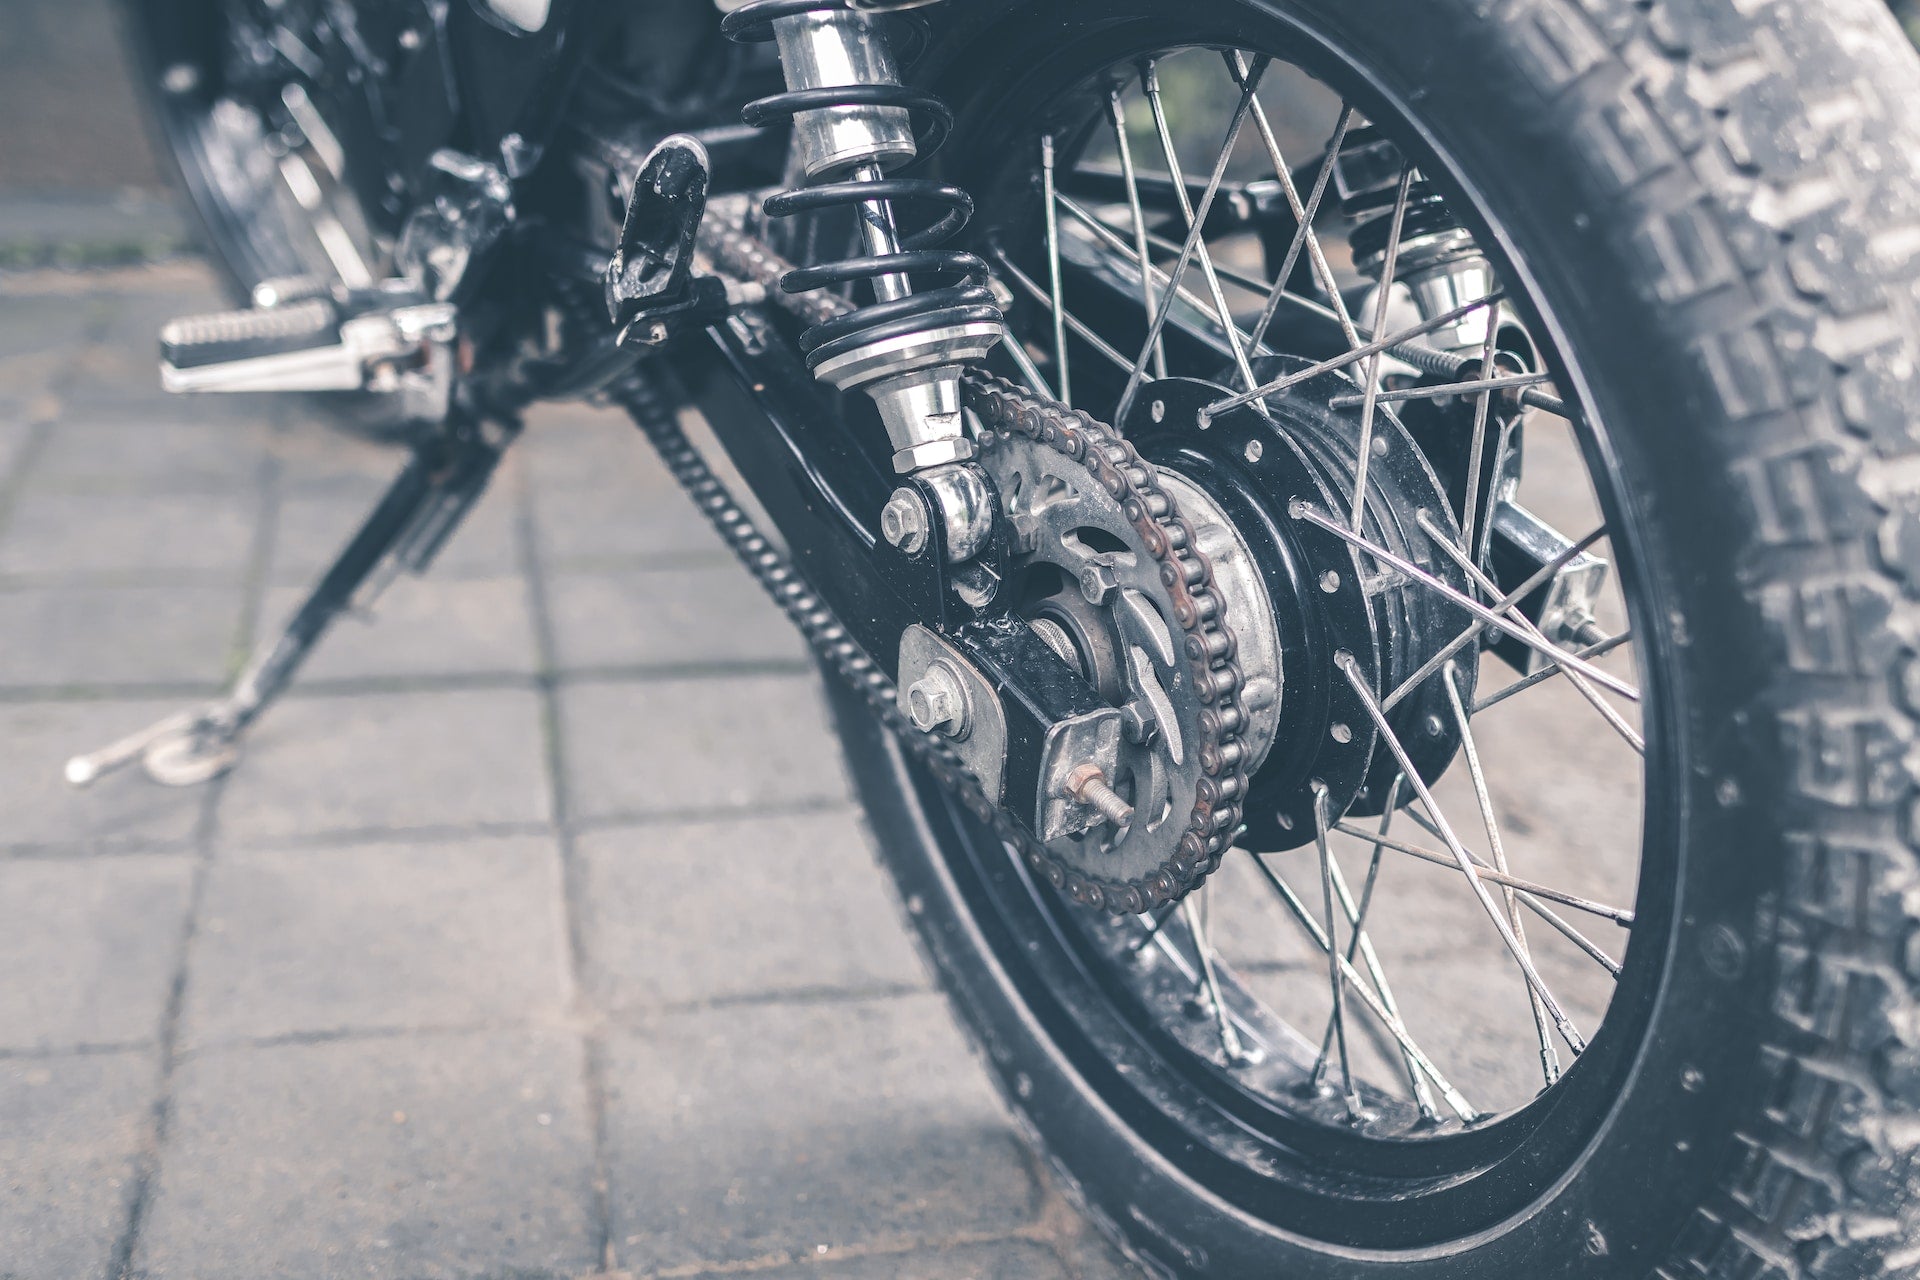
Chain and Running Gear
– Observe the chain condition. Note any damage, corrosion, seized links or signs of wear
– Check sprockets for ‘Hooking’ on the teeth, or missing / damaged teeth. Repeat the process if the front sprocket is visible. If there is a cover, perhaps on a Sunday take off the front sprocket cover to inspect the sprocket.
– Check the chain tension with the rear wheel on the ground. Consult the owners manual to see steps to tension or de-tension the chain correctly
– Ensure your chain is free of dirt, dust and grass, and make sure it is lubricated with a good quality chain lubricant
Check Yourself
– Most importantly, dress to slide then ride. Basically this means wear protective footwear, pants, jacket, gloves, and of course a good fitting helmet.
Don’t be silly and ride in your shorts and singlet and your favourite thongs. It’s not cool when you have a fall and end up looking like you have had a fight with an angle grinder or chainsaw!
– Check your riding gear is in good condition. When you wash your gear remember to remove the CE certified armour first
– Lastly, check yourself. If you are feeling sick, have a hangover, or not as sharp as you normally are…don’t ride
If you are unsure about any of this get in touch or drop by on your bike to see me – Iain Eccles, Salt Creek Motorcycles Head Mechanic